Designing a pattern for kids’ bedding is a creative journey that combines artistic vision, technical skill, and a keen understanding of what the needs and wants of the client are. In this blog post, I’ll walk you through my process of creating a pattern I recently licensed, from receiving the client’s brief to seeing the final product come to life.
STEP 1: UNDERSTANDING THE CLIENT BRIEF
The process begins with a detailed discussion with the client. I usually provide a brief to fill in with detailed questions, but in this case the client already had a vision and a brief that outlined their vision, target age and sex group, colour preferences, theme, and any specific elements and style they wanted to see in the design. This stage is crucial as it sets the foundation for the entire project.
STEP 2: INITIAL SKETCHES AND CONCEPT DEVELOPMENT
With the brief in hand, I begin brainstorming and sketching initial concepts. These sketches are rough and exploratory, allowing me to play with different ideas and compositions. I focus on staying true to the client concept but also having my own take on it.
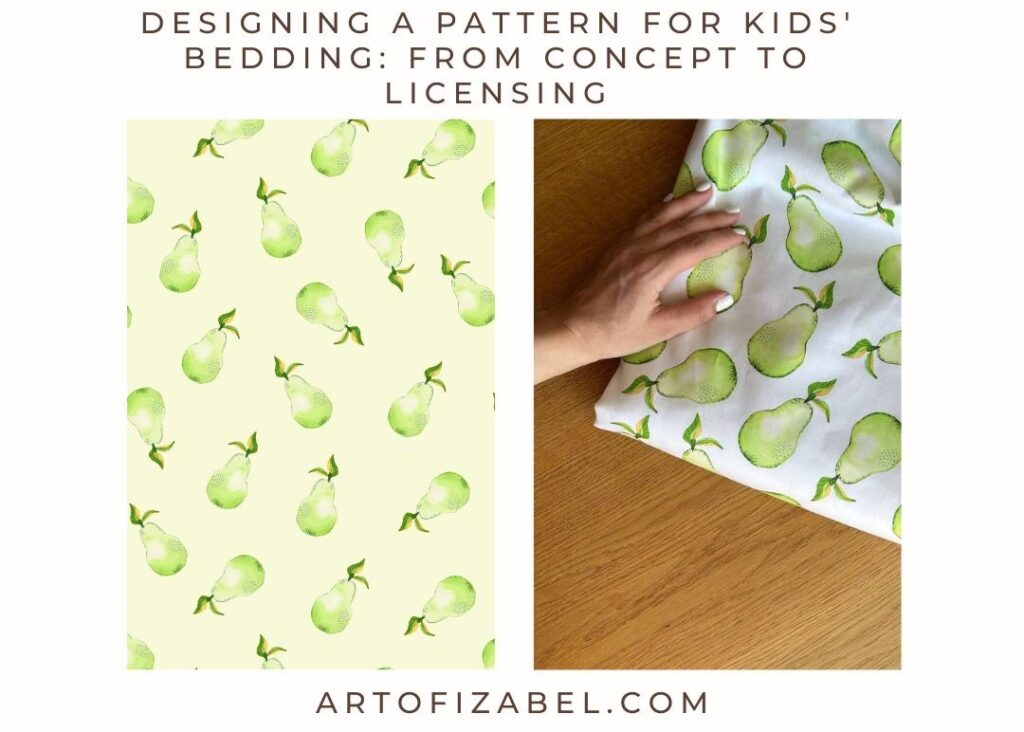
STEP 3: CREATING THE ILLUSTRATION
Once the client approves the initial sketches, I move on to creating the elements for the pattern. My medium of choice is watercolour and watercolour pencils for added texture. This step involves adding colour, texture, and any intricate details to make the design vibrant and appealing as per the client brief.
STEP 4: DIGITAL EDITING AND PATTERN DESIGN
After completing the illustrations, I scan them for further editing in Photoshop. In this stage, I edit the illustration, clean it up, adjust colours if needed to match the desired palette. Once the elements are ready, I start creating the seamless pattern.
STEP 5: PREPARING THE DESIGN FOR PRINT
Preparing the design for print is yet another crucial step that involves creating print-ready files with the correct resolution, colour profiles, and dimensions. I work closely with the client making sure I have all the necessary information from the printing company to ensure that the design translates well onto fabric and meets all technical specifications.
STEP 6: LICENSING THE DESIGN
With the design finalized and print-ready, the next step is licensing it to the client. This involves drafting a licensing agreement that outlines the terms of use, duration, and royalties which were discussed during the initial sketch and onboarding phase. Licensing allows the client to produce and sell the bedding with the exclusive or non-exclusive right to use my design. In this case it is an exclusive license, meaning the design and any elements of it cannot be licensed to another client or manufacturer.
STEP 7: AWAITING THE RESULTS
Ah this is the most nerve-wrecking part for me! After the design is licensed, it’s a waiting game to see the final product. The anticipation builds as the bedding is manufactured and distributed. Seeing the design come to life in stores and knowing that it will be part of a child’s daily routine is incredibly rewarding.
Stay tuned to see the final product under “Projects: page on my website.
Thank you for following along on this creative journey. If you’re interested in licensing a design or want to learn more about the process, feel free to reach out.
Until next time.
Much love, Izabel